
Tooth Fairy Envelope
SHARE
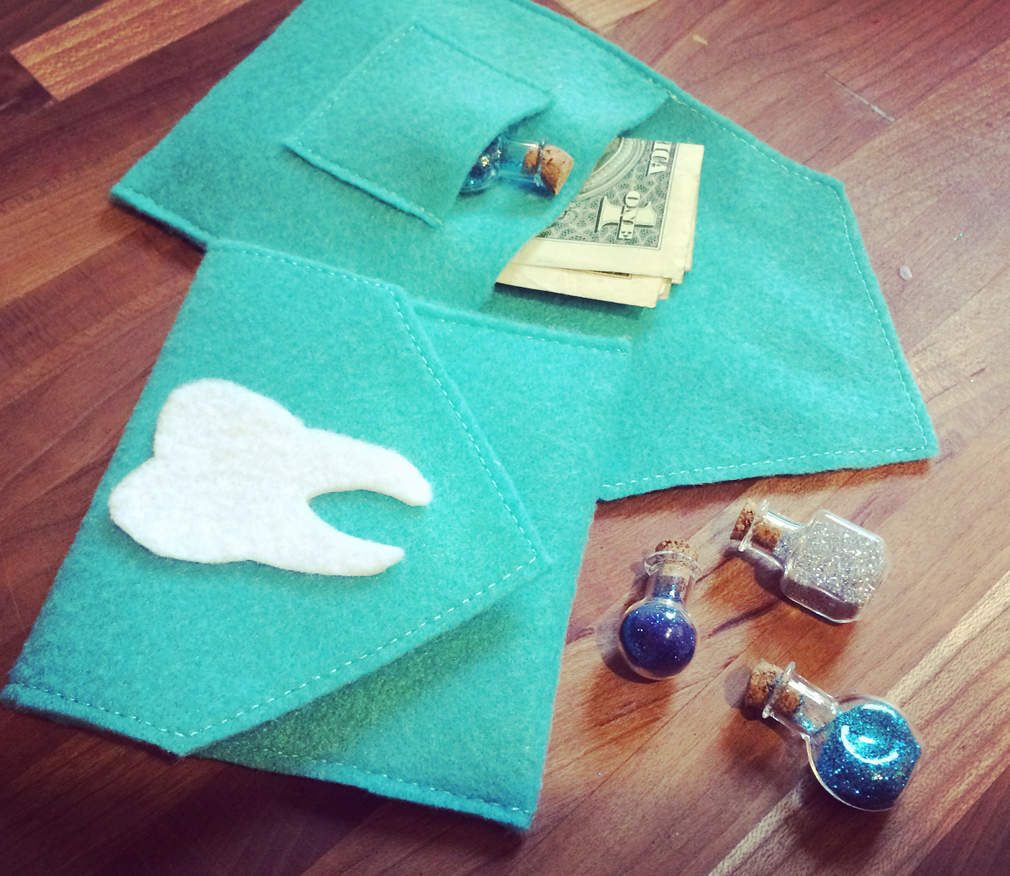
Disclaimer: I believe in the Tooth Fairy . . . so we have to properly invite her in our home. My son and I sewed a small Tooth Fairy envelope to put his teeth when they come out. It has a small pocket where the fairy always leaves tiny bottles of fairy dust behind, at least she always did when I was little. This was a super easy and energy free project to build excitement about the future visits from the Tooth Fairy.
WHAT YOU NEED:
1 Sheet Felt (color you choose. About 8.5×11)
1 Sheet Felt (white) (I found self adhesive felt, but you can use regular felt with fabric glue)
Sewing Machine
Printer/Paper
Scissors

DIRECTIONS
1 Print the Envelope template.
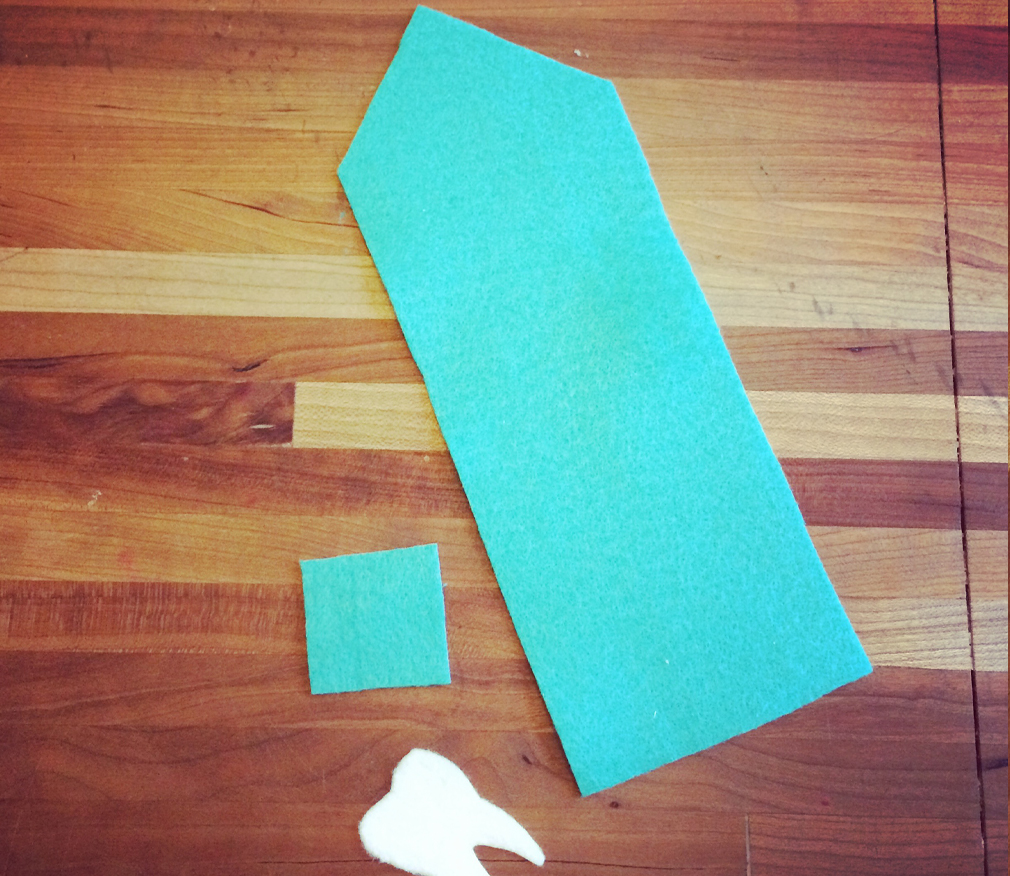
2 Place it on the colored felt and cut it out. (also cut the optional pocket if you choose).
3 Using the tooth template cut out the white tooth and set aside.
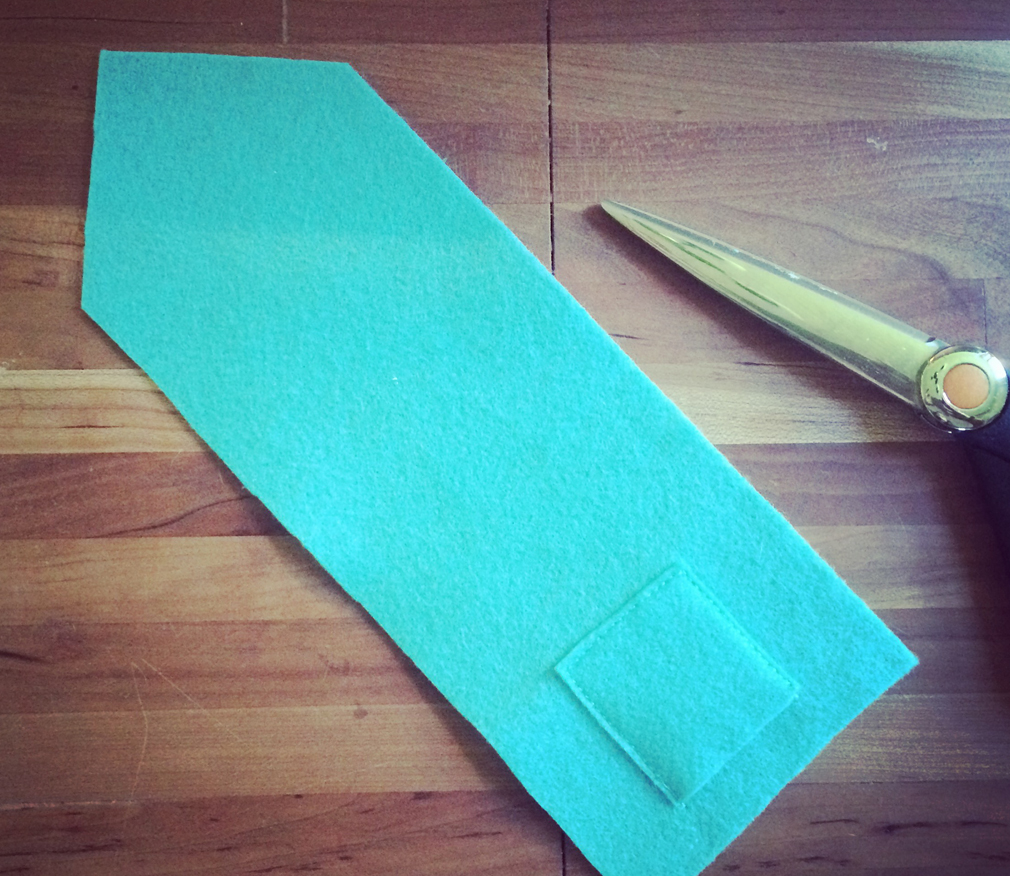
4 If you are doing the mini pocket, lay the envelope next to the template and fold it as though it were already sewn, place the pocket where you would like it to go and sew it on three sides. Pay close attention that it open on the right side. (I might have screwed this up the first time).
5 Next sew the large pocket. I also chose to sew along the flap edges for the style, but you don’t have to.
6 Adhere the tooth to the front of the envelope flap.
7 Wait for your teeth to fallout and a visit from your local Tooth Fairy.